
Last updated November 15, 2026
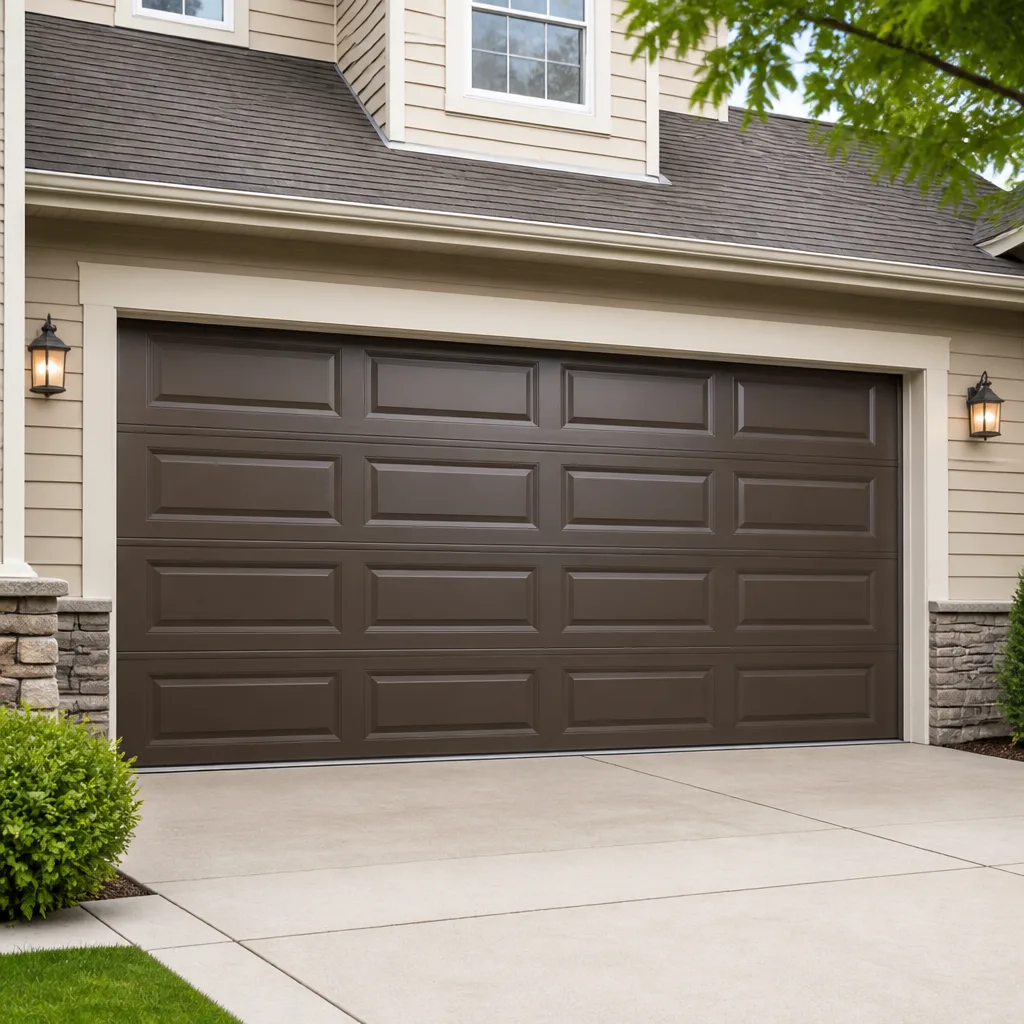 Raised-panel steel
 Carriage house
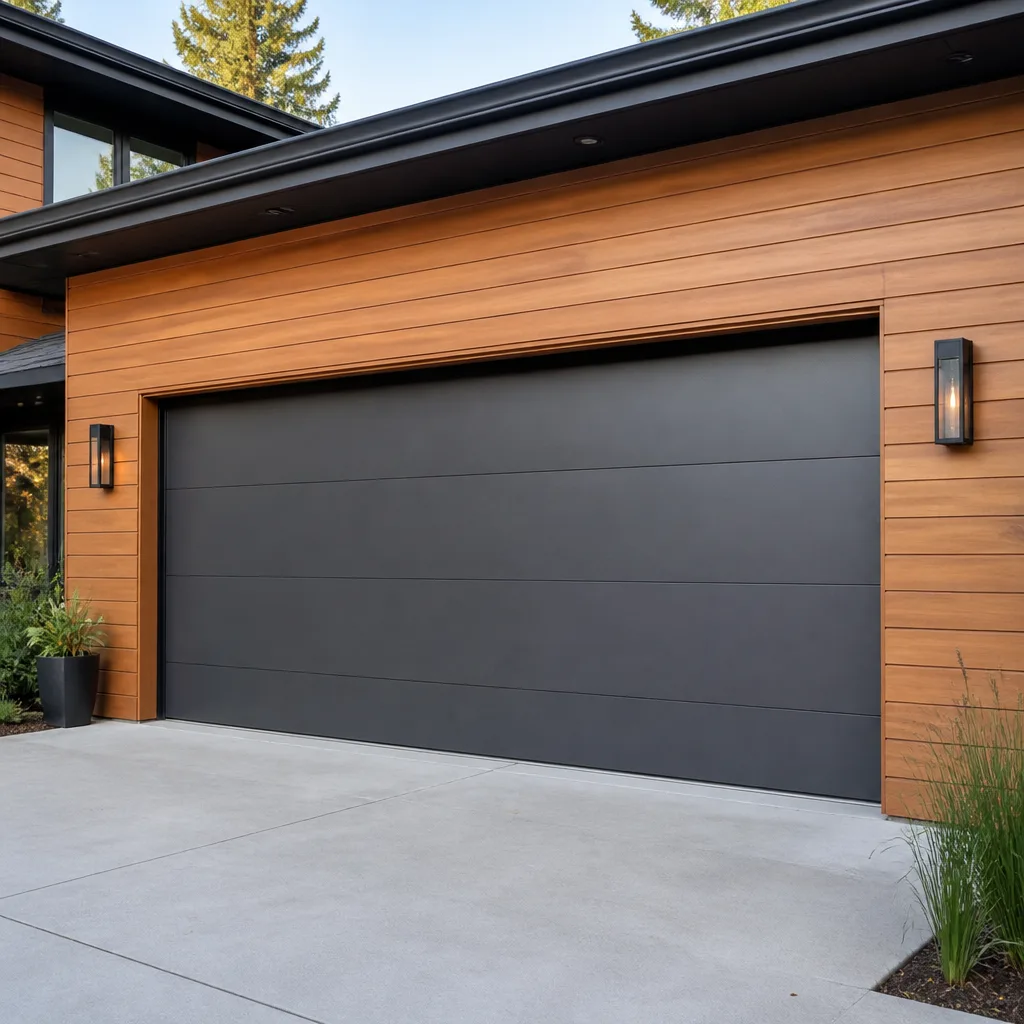 Modern flush
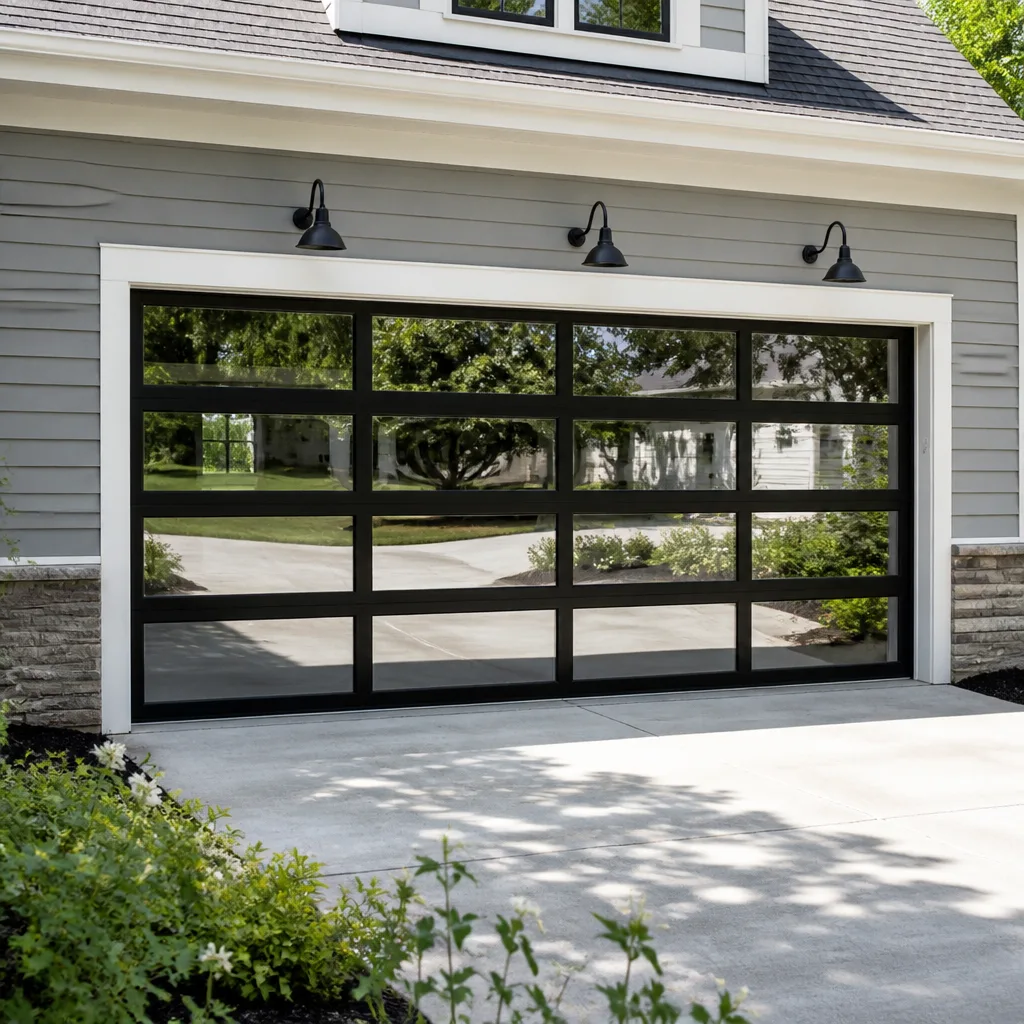 Full-view glass
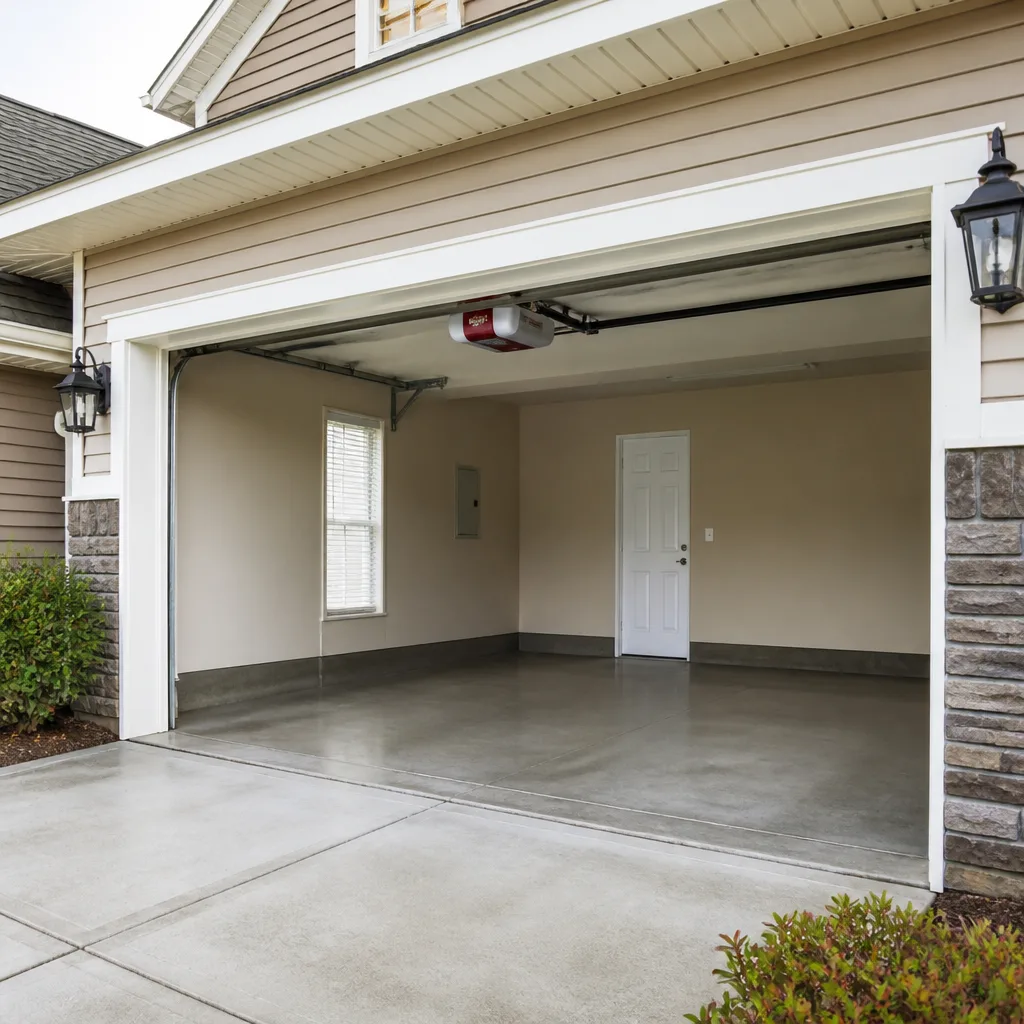 LiftMaster openers
 Chamberlain openers
Full 25-point door and opener safety check with every visit - springs, cables, rollers, tracks, and your LiftMaster or Chamberlain opener included
You get a price before we start. It does not change when the pro arrives.
Get your free estimateGarage Door Repair Maintenance Schedule: What to Do and When
A tube of white lithium grease applied in October is worth three service calls avoided by April. That’s the short version of garage door maintenance in Dearborn, where the door spends half the year fighting cold and the other half fighting humidity. But here’s the part most maintenance guides leave out: knowing which parts to grease matters just as much as knowing when. Grease the wrong component and you’ll accelerate the wear you were trying to prevent. This guide maps maintenance tasks to the Michigan conditions that make them necessary, month by month, so you know what to check, what to leave alone, and what genuinely needs a technician. We’re Forthright Garage Door Repair, and we’ve built this around how doors actually age here.
Quick Answer
Lubricate hinges, rollers, and springs once in fall and once in spring, test the door’s balance and safety reverse monthly, and inspect weatherstripping at the bottom seal, stop molding, and top seal separately each season. In Dearborn, the critical windows are October (before the first hard freeze) and March (after the last thaw), because those are the two points where temperature swings do the most damage to springs, seals, and opener force settings. Anything involving springs, cables, or electrical wiring should go to a trained technician.
Styles & brands we work with
- Raised-panel steel
- Carriage house
- Modern flush
- Full-view glass
- LiftMaster openers
- Chamberlain openers
Table of Contents
- Why a Seasonal Schedule Beats an Annual One
- The Dearborn Month-by-Month Maintenance Calendar
- The 90-Second Tension Test
- What You Should Never Lubricate (and Why)
- The Weatherstripping Inspection Sequence
- What You Can Do Yourself vs. What Needs a Technician
- Opener Maintenance: The Parts Homeowners Forget
- Common Mistakes to Avoid
Why a Seasonal Schedule Beats an Annual One
A garage door isn’t a water heater. It doesn’t fail on a predictable clock. It fails when the conditions around it change faster than its components can adapt, and in Dearborn those changes happen on a schedule you can actually plan around. The door cycle count matters too: a household running two cars in and out four times a day racks up roughly 2,900 cycles a year, which is a real number to keep in mind when a torsion spring rated for a specific cycle life starts acting tired.
Think about what the door goes through in a Dearborn year. January brings stretches where the temperature sits below freezing for days. The steel contracts. The lubricant thickens. The bottom seal, already stiff, presses harder against a concrete floor that may have shifted with frost. By March, the thaw introduces moisture into every seam and joint. Summer humidity swells wood door panels and softens weatherstripping. Then October arrives and the whole cycle restarts.
An annual reminder set for, say, your birthday ignores all of this. A seasonal schedule doesn’t. It puts lubrication before the freeze, seal inspection after the thaw, and balance testing in the mild months when you can safely work the door by hand and feel what it’s telling you.
There’s a second reason seasonal maintenance beats annual: it gives you diagnostic checkpoints. When you look at the same door four times a year instead of once, you notice changes early. A roller that’s started to flat-spot in June gets replaced in June, before it chews up the track by September. That’s cheaper than the alternative, and it’s the whole point of maintenance.
The Dearborn Month-by-Month Maintenance Calendar
Here’s how we’d organize a garage door schedule for a southeast Michigan climate. Each task is tied to the condition it prevents, not just the month it happens to fall in.
October – pre-freeze lubrication and seal check. Apply white lithium grease or a silicone-based lubricant to hinges, roller bearings, and the torsion spring coil. Check the bottom seal for cracks or hardening. This is the single most important maintenance window of the year in Dearborn: a door that goes into winter properly lubricated will run quieter and stress its opener less during the cold months.
November – opener force and balance test. Cold weather increases friction, and an opener set to a marginal force threshold in summer may strain or reverse incorrectly in November. Test the safety reverse with a small object under the door and test the balance by disconnecting the opener and lifting the door halfway.
December through February – visual checks only. Don’t dismantle anything in freezing temperatures; the metal is brittle and the lubricant is stiff. Do look at the door from the outside after storms. Do listen for new noises. If something sounds wrong, note it and schedule a service call rather than attempting a repair in the cold.
March – post-thaw inspection. Walk the full track and look for rust bloom, especially at the bottom where meltwater collects. Check the bottom seal again; freeze-thaw cycles are hard on it. Look at the concrete where the door meets the floor for new gaps.
April – full lubrication and hardware tightening. Re-lubricate all moving metal parts. Check every hinge bolt and track bracket and tighten anything that’s worked loose. Inspect the torsion spring for rust or visible gaps.
May through September – quarterly spot checks. Test the safety reverse monthly. Lubricate once in mid-summer. Inspect weatherstripping around the perimeter. Clean the photo-eye lenses on your opener if you have them.
September – pre-winter prep. This is the last easy month to fix something before the cold makes it worse. If you’ve been putting off a worn roller or a frayed cable, get it handled now.
The 90-Second Tension Test
Springs don’t usually snap without warning. They lose calibration gradually, and a door that’s slightly out of balance will work its opener harder for months before visible failure. The 90-second balance test tells you if that drift is happening.
- Close the door completely and pull the manual release cord to disconnect the opener. On most openers the release is a red handle hanging from the trolley.
- Lift the door by hand to about waist height. It should move smoothly and with reasonable effort. If it feels heavy or binds at any point, stop.
- Let go at the halfway point. A properly balanced door will hold its position or drift very slightly. A door that sinks on its own is carrying too much weight on the opener. A door that rises is over-tensioned.
- Lower the door and re-engage the opener. If the balance is off, note the symptom (sinks, rises, binds) and call a technician rather than adjusting the spring yourself.
Why a technician? Torsion springs are under extreme tension even when the door is closed. The winding process requires specific tools and training, and a spring that lets go mid-adjustment can cause serious injury. We say this plainly because it’s the one maintenance task that isn’t worth attempting on your own, no matter how handy you are. What the test gives you is information: the ability to describe the symptom accurately, which means a faster, better diagnosis. If you’re not comfortable disconnecting the opener, a technician can perform the same test as part of a service call.
If you notice the door getting heavy or sluggish, our garage door repair team can check the balance and spring tension as part of a standard diagnostic. That includes doors from Clopay, Amarr, Wayne Dalton, and the other major brands we work on.
What You Should Never Lubricate (and Why)
This is the section most guides skip, and it’s the one that causes the most avoidable damage. Grease on the wrong part doesn’t just fail to help; it actively attracts grit and accelerates wear.
- Nylon rollers. If your rollers have white or light-colored nylon wheels, don’t grease the wheel itself. Nylon is designed to run dry. Lubricant attracts dust and grit, which grinds into the wheel surface and wears it faster than if you’d left it alone. You can lubricate the metal stem the roller sits on, but keep grease off the wheel.
- The track. Never put grease, oil, or silicone spray on the vertical or horizontal tracks. The track is a guide, not a bearing surface. A greased track collects every speck of dirt in your garage and turns it into an abrasive paste that wears both the track and the rollers. If the door is loud or binding, the fix is usually roller replacement or track alignment, not lubrication.
- Photo-eye lenses. These should be wiped with a dry cloth, not sprayed. Solvent-based cleaners and lubricants can cloud the plastic lens and interfere with the safety beam.
- Wood door panels. Treating the finish is fine, but grease doesn’t belong on wood. If you have a wood door and it’s sticking, the issue is almost always the hardware, not the panel.
- Opener drive belts and chains. Follow your opener manufacturer’s guidance. Many modern belt-drive openers from Genie and LiftMaster come pre-lubricated and don’t need grease added. Over-lubricating a chain attracts grit and can cause it to skip.
Getting this wrong is common because greasing everything feels like it can’t hurt. In practice, the parts that need lubrication are the metal-on-metal contact points: hinges, spring coils, roller stems, and the bearing plates at the ends of the torsion bar. Keep your grease aimed at those and leave the rest dry.
The Weatherstripping Inspection Sequence
Weatherstripping fails in three places, for three different reasons, and each needs a different fix. Inspect them in order, starting from the ground up, because problems at the bottom are the most common and often cause complaints that appear to come from elsewhere.
Step 1: Bottom seal. The bottom seal is the rubber or vinyl strip that runs along the bottom edge of the door and compresses against the floor. In Dearborn it takes the hardest hit of any component. Freeze-thaw cycles shift the concrete, and the seal has to adapt every time. Look for cracks, hardening, or gaps where you can see daylight or feel a draft. A hardened seal doesn’t compress; it just presses flat and lets water and cold air past. If the seal has lost flexibility, it needs replacing, and that’s a job most homeowners can manage on a standard door.
Step 2: Stop molding. The stop molding is the trim on the door frame’s sides and top, the part the door closes against. It’s wood or vinyl, and in Michigan it’s the first thing to show rot because it traps moisture between the door and frame. Probe it with a screwdriver; if the tip sinks in easily, the molding is soft and needs replacing. Vinyl molding holds up better than wood in this climate.
Step 3: Top seal. The top seal or header seal runs along the top of the door opening. It fails differently: because it’s at the top, it often catches wind-driven rain and snow that gets pushed upward by prevailing winds. Check for tears, gaps, and separation from the door or frame. A failing top seal is often the source of a leak that gets blamed on the bottom.
Work the sequence in order, and take a photo of each section so you have a baseline to compare against next season. If your door is getting on in years and the weatherstripping is failing in multiple places at once, it may be time to talk about whole-door assessment. Our Dearborn team handles that kind of full-system inspection routinely.
What You Can Do Yourself vs. What Needs a Technician
We believe homeowners should handle a lot of their own maintenance. It keeps costs down and keeps you familiar with your door. But there’s a real line, and it’s worth knowing exactly where that line sits.
Safe for most homeowners
- Lubricating hinges, roller stems, and spring coils
- Tightening visible bolts and track brackets
- Wiping down the track and photo-eye lenses
- Testing the safety reverse feature with a small object
- Replacing weatherstripping and bottom seals
- Testing the balance of the door by hand with the opener disconnected
- Cleaning and inspecting the door aesthetically
Needs a technician
- Any work on torsion springs. The tension is dangerous even in a closed position.
- Cable replacement or adjustment. Cables are under constant tension and a snapped cable can whip.
- Track realignment. A door that has jumped the track needs professional correction, and a DIY attempt can bend the panel beyond repair.
- Opener electrical work or control board diagnosis. This is where a specialist trade focus matters; openers from Chamberlain, Genie, and LiftMaster all have different diagnostic behaviors.
- Panel replacement on insulated or carriage-house doors, where fit and finish affect the seal.
- Anything under warranty, where DIY work can void coverage.
The general rule: if the task involves springs, cables, electrical, or heavy lifting of the door itself, call us. If it’s a surface part you can reach without tension on it, you can probably handle it. For opener-specific troubleshooting, our garage door opener repair page covers what we look at when a motor or a control board starts misbehaving.
Opener Maintenance: The Parts Homeowners Forget
The opener is bolted to the ceiling and mostly ignored, but it’s doing harder work than its specs suggest when the door has fallen out of balance. If your door needs more force than it used to, the opener compensates by working harder, and that shortens its life. Maintenance on the opener side is largely about monitoring, not adjusting.
- Test the safety reverse by placing a small box or a roll of paper towels under the door and closing it. The door should reverse on contact. If it doesn’t, stop using the door and call a technician.
- Test the photo-eye system if your opener has one. Wave a hand through the beam with the door closing; it should reverse immediately. Clean the lenses with a dry cloth monthly.
- Listen for changes. Grinding, clicking, or a strained motor sound means something has changed. Don’t lubricate your way through a symptom; diagnose it.
- Check the manual release cord. It should release cleanly and re-engage the trolley without sticking.
- Look at the light. A blinking error code on the opener’s light is the opener telling you what’s wrong. The exact pattern differs by brand, and our technicians work on Chamberlain, Genie, LiftMaster, and the rest routinely, so a photo of the blink pattern is usually enough for us to know what’s happening.
If your door has a wall-mounted control panel, check that the settings haven’t drifted after a power outage. Many modern openers reset to default force limits after power cycling, and a summer setting may not be adequate for a Michigan winter. That’s a common reason a door that worked fine in October starts reversing in December. The fix is usually a recalibration, and it’s a call worth making before the cold settles in.
Common Mistakes to Avoid
- Greasing the track. In our experience this is the single most common maintenance error. A greased track attracts grit and wears out rollers faster than leaving it dry. Keep the track clean, not lubricated.
- Greasing nylon rollers. Same principle: nylon runs dry by design. Grease on the wheel turns into an abrasive paste.
- Waiting until a spring snaps. If you’ve been through five winters with the same springs, they’re near the end of their duty cycle even if they look fine. The 90-second balance test is your early warning system.
- Adjusting springs yourself. This is the wrong thing to DIY. The tension can cause severe injury, and no maintenance gain is worth that risk.
- Ignoring the bottom seal through winter. A hardened April-to-September seal will let meltwater wick in during the March thaw. Inspect in October and again in March.
- Forgetting to retest the safety reverse after winter. Cold weather changes how the opener behaves. A door that passed the reverse test in summer may not pass it in January.
- Assuming a noisy door needs new parts. Noise is often a lubrication or balance issue. Before you spend on replacement, get the door diagnosed. That’s what “forthright” means to us: we tell you what’s wrong before we talk about cost.
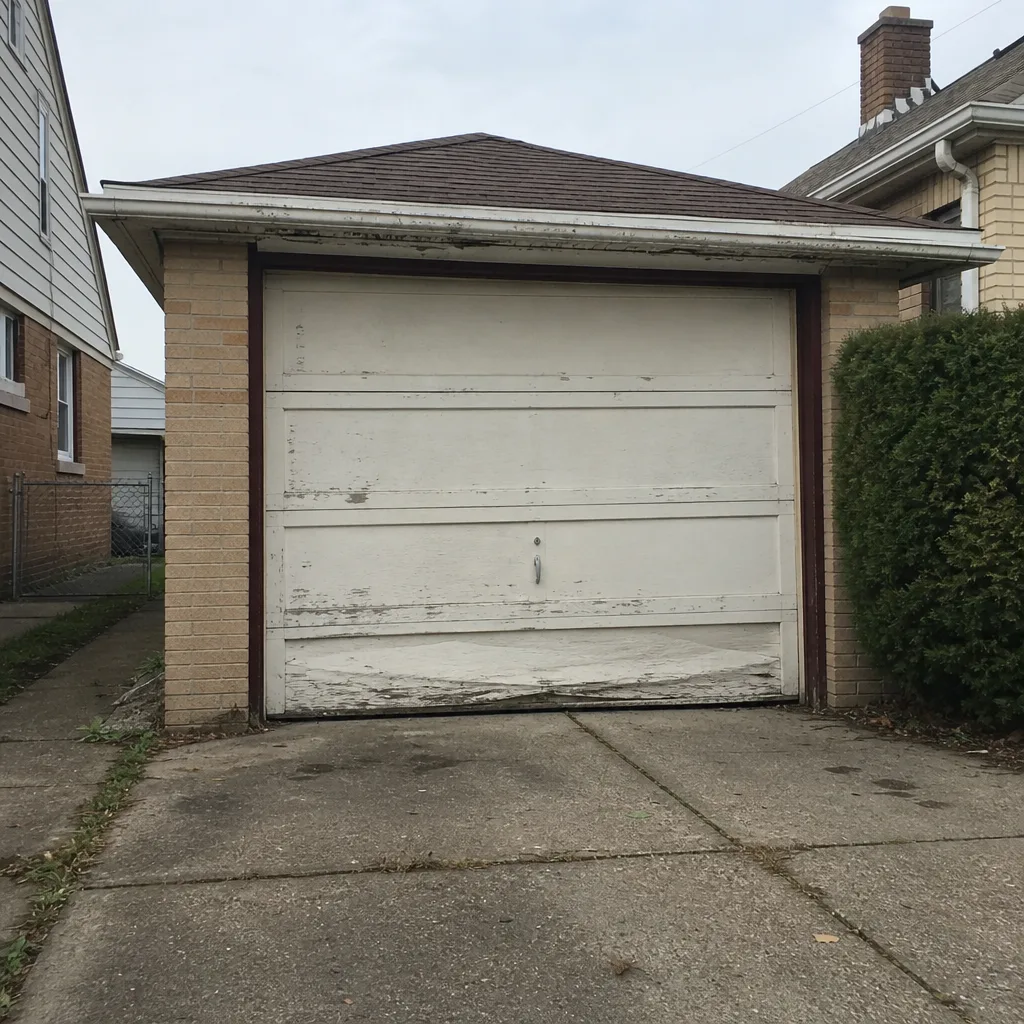
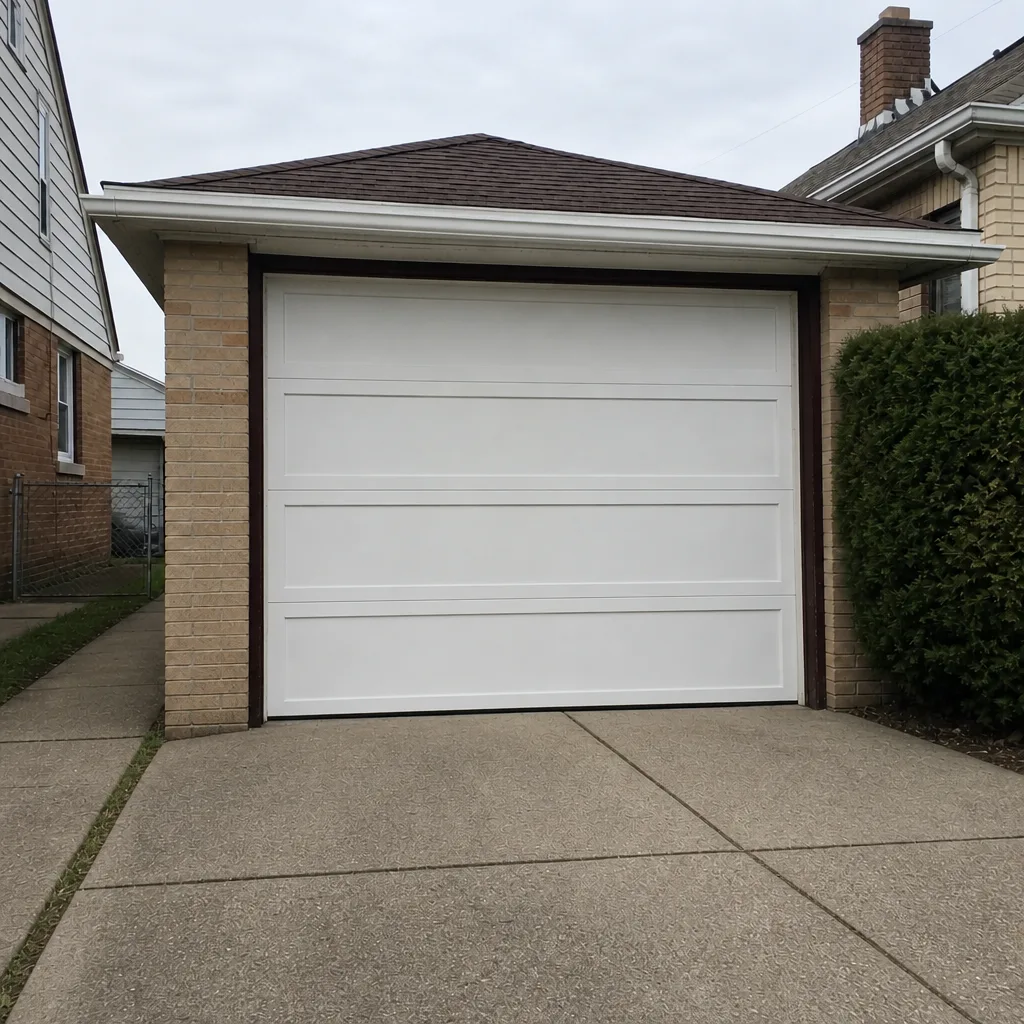
See the difference
 Before
 After
 Before
 After
 Before
 After
When to Call a Professional
Some maintenance is a phone call away from being someone else’s problem. Call us when any of the following is true: the door won’t hold its position during the balance test; the door is visibly out of the vertical tracks; the opener reverses for no reason or won’t complete a cycle; you see rust bloom on the spring or hear a sharp bang from the door; the weatherstripping is failing at multiple points simultaneously; or you simply want a baseline diagnostic before winter. Also call if you have a warranty on the door or opener and you’re not sure whether a DIY fix would void it. In Dearborn, our free estimates mean you know what a repair will cost before anyone touches your door. Call (833) 454-5390. We answer 24/7. Fast dispatch from 7am to 7pm, Sunday through Friday. Our technicians have up to 11 years of experience, and every estimate we write is the price you’ll pay; the written quote sets the final cost, not a surprise at the invoice stage.
Frequently Asked Questions
Twice a year is the standard: once in October before the first freeze and once in April after the thaw clears. In a southeast Michigan climate, that schedule lines up with the temperature swings that stress the metal parts, so it does more good than a single annual application. If your door runs many cycles a day, add a mid-summer lubrication to the routine. Call (833) 454-5390 for an exact quote on a service visit; estimates are free.
Yes, and you should. With the opener disconnected via the manual release cord, lift the door to waist height and let go. A balanced door holds its position or drifts slightly; one that sinks or rises means the spring tension has drifted. What you can’t do yourself is adjust the spring. That requires a technician, and if the test points to an imbalance, call us at (833) 454-5390 for a diagnostic.
Because grease on the track attracts dirt and grit, turning the track into an abrasive surface that wears out your rollers faster. The track is a guide, not a bearing; it should stay clean and dry. Lubricate the hinges, roller stems, and spring coils instead. If your door is loud after the track is clean, the problem is elsewhere, and we can help diagnose it. Call (833) 454-5390 and we’ll schedule an inspection.
A door that suddenly won’t stay open on its own, or feels much heavier than usual when you lift it by hand. The door may also start reversing during the close cycle because the opener is straining against the extra weight. Sometimes you’ll see visible rust or a gap at the spring coil. Any of these signals means stop using the door and call a technician. Call (833) 454-5390 and we’ll get someone out; estimates are free.
Yes, but not in the way most people expect. Cold itself rarely breaks a door. What happens is that winter exposes problems that already existed: a marginal roller gets louder, a slightly worn seal stops sealing, an opener that was set to a summer force threshold now reverses unexpectedly. The October lubrication and the November force test are the two tasks that prevent the most winter issues. If you’re already seeing problems, call (833) 454-5390.
Yes. New doors still need seasonal lubrication and balance checks; the schedule isn’t about age, it’s about the conditions the door operates in. A three-year-old door that’s never been lubricated in this climate will show wear faster than a ten-year-old door that’s been maintained properly. Our technicians have up to 11 years of experience working on doors from Clopay, Amarr, Wayne Dalton, and other major brands, so if you want a new-door assessment, we’re the right call. Call (833) 454-5390 for a free estimate.
The Bottom Line
Maintenance that works in Dearborn is seasonal, not annual. Lubricate the right parts in October and April, test the balance monthly, inspect the three weatherstripping zones each season, and leave springs, cables, and electrical work to a technician. The whole routine takes maybe 20 minutes a season, and the payoff is a door that runs quietly, a warmer garage, and fewer emergency calls. If you want a baseline diagnostic or want us to handle the technical parts while you stay on top of the routine, our team is here. The city of Dearborn is where we work, and doors are all we do.
Call (833) 454-5390 for a free estimate on any maintenance or repair issue. We answer 24/7. Fast dispatch from 7am to 7pm, Sunday through Friday, with the price quoted and agreed before any work starts. We work on most major brands, including Clopay, Amarr, Wayne Dalton, Genie, Chamberlain, LiftMaster, Craftsman, and Raynor, so we can service the system you already own. No surprises, no upsell pressure, no vague pricing. That’s what Forthright means.
Written by the team at Forthright Garage Door Repair.